Importing animated cameras into KeyShot
How to import animated cameras from other 3D software like Blender and set them up in KeyShot
If you want to use a KeyShot camera as a starting point for the animation, here is a guide on how to import a KeyShot camera into Blender.
Exporting the camera
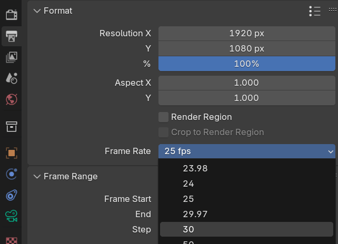
In Blender's Output settings, please make sure that the framerate matches that of KeyShot

After creating the animation, it's best to save a backup or make a copy of the animated objects.
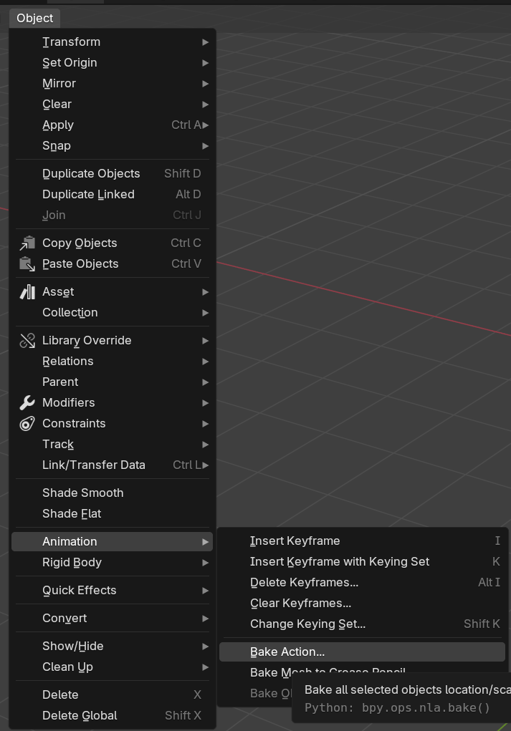
Then bake the action, by going to Object → Animation → Bake Action
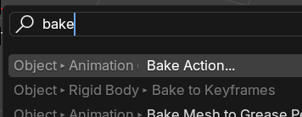
or by using the Search bar.


Then bake the action clearing parenting and constraints

and export it as an FBX. Make sure to limit the export only

Since KeyShot needs at least one 3D object in the file in order to import, please add any 3D geometry to the camera to the export.
Importing the camera
Once the camera is imported, you can hide or delete the 3D geometry that you added to the export in case it is not needed for the scene.Selecting the camera, you will see the fbx animation as a purple animation strip.
If you are using KeyShot versions between KeyShot 11 and KeyShot 2024.3, there is a bug with the defect ID KEYS-33491 that causes the animated camera to be imported incorrectly.
You will notice that the rotation is at 0°.
This can be fixed by editing the camera location and rotation based on the first frame in the exporting software, or by using a script.
Manually adjusting the transformations
You can manually adjust the camera based on the angles in Blender by navigating to the first frame and adjusting the angles in KeyShot. Please not that KeyShot uses y-up axis, while Blender uses z-up so you will need to convert it accordingly.
E.g. here: x = 36,872° → Azimuth = -90° - 36,872° = -126,872°
z = 29,497° → Inclination = 90° - 29,497° = 60,503°
Using the Script
First, please download and install the script below.
Camera - Copy Transforms Script
Please note that Custom Scripts are not supported by KeyShot.
Additionally, any changes performed by scripts cannot be reversed with the undo function.
Please make sure to save your Scene before running a script so that you can restore your previous Scene in case of unwanted or unexpected changes.
Due to a current bug (KEYS-33451) the camera that you want to copy from needs to have the "Use Target as Pivot" checkbox enabled.
Be sure to apply that change by saving the current camera
In order to add the script to KeyShot, you can unzip the script and import the .py file through the scripting console or by copying it into the Scripts folder in your Resource Folder
The Resource Folder by default is installed in the following locations:
Windows:
-
Installed Just For Me:
%UserProfile%\Documents/KeyShot or
C:\Users\<username>\Documents\KeyShot -
Installed For Everybody:
C:\Users\Public\Documents\KeyShot or
%Public%\Documents\KeyShot
macOS:
-
/Library/Application Support/KeyShot
When you run the script please make sure that the camera you want to copy from is set as the Reference Camera and the your imported camera as the one that will be transformed.
Please use the existing camera in KeyShot or export the unanimated camera on its first frame from Blender to use as the reference camera to copy the transformations from.